A I Playground - Copy this React, Tailwind Component to your project
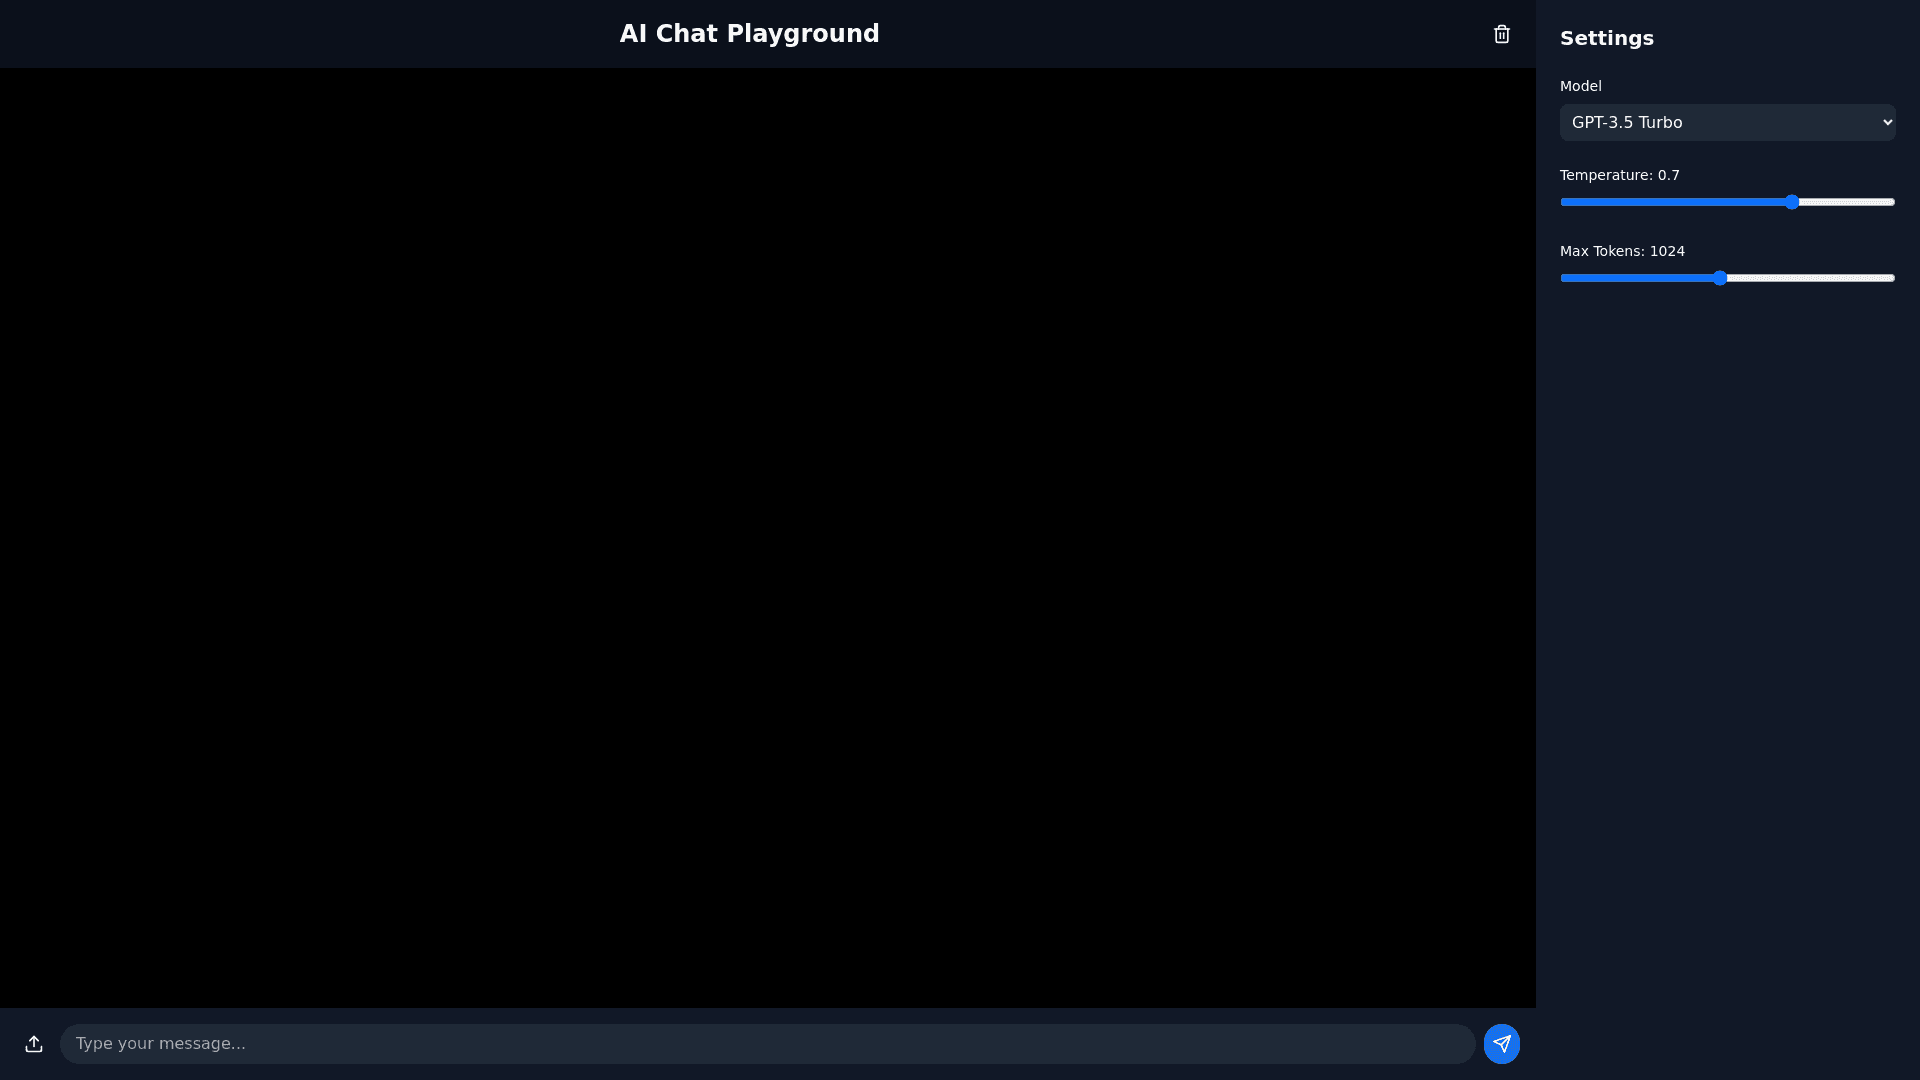
Can you please design an AI playgroun following the design below General Layout Two Column Design: Left Column: A chat window for user and system interaction. Right Column: A settings and configuration panel. Theme: Black background for the interface with white text and minimal gray borders or subtle highlights. Rounded corners for input fields, buttons, and chat bubbles for a modern touch. Minimalistic accent colors (muted tones like soft blue or green) used sparingly for interactive elements like buttons, active sliders, or hover effects. Left Column – Chat Window The left column will act as a dynamic chat window, allowing the user to interact with the AI in a conversational format. a. Chat Header A simple, sticky header at the top of the chat window with: The title: "AI Chat Playground", centered in bold, white text. A small clear chat icon on the right corner (e.g., a trash can or "X") to clear the chat history. b. Chat Display Area Below the header, a scrollable area that dynamically displays the chat conversation. Background: Matte black. System Messages: Distinct styling with a white rounded rectangle background and bold black text. Example: "System: You can describe the AI's behavior or instructions here." User Messages: Rounded chat bubbles on the right side with a white border, black text, and subtle shadowing for depth. AI Responses: Rounded chat bubbles on the left side with a white background, black text, and a gray border. Add a timestamp under each message in subtle gray text for context. c. Chat Input Area At the bottom of the chat window, include: A text input box spanning most of the width, allowing the user to type prompts. Placeholder text: "Type your message here..." Rounded corners with a slight glow effect when active. On the right side of the input box: Upload Button (optional): For attaching files. Send Button: A prominent circular button with a paper plane icon, hovering slightly above the input field. d. Scroll Behavior The chat window should auto scroll to the latest message but allow the user to scroll back to see the conversation history. 2. Right Column – Configuration Panel The right column remains a settings panel for customizing the behavior of the AI and the interaction environment. a. Header Title: "Settings" in bold white text at the top of the panel. A thin gray line underneath separates it from the rest of the content. b. Model Selector A dropdown menu labeled "Model" at the top of the panel. Example options: GPT 4, GPT 3.5. Dropdown with subtle hover effects and clear labels. c. Parameter Controls Add intuitive sliders and fields for fine tuning the model’s behavior: Temperature Slider: Label: "Temperature (Randomness)" Range: 0.0 to 1.0 with steps of 0.1. Current value displayed dynamically next to the slider. Max Tokens Slider: Label: "Maximum Tokens" Range: 100 to 2048. A numeric field allows users to type a value directly. Frequency and Presence Penalties: Two sliders for adjusting these values. Include hover tooltips explaining each option. Stop Sequences: A text box where users can define stop tokens. d. Presets Add a "Save Preset" button at the bottom of the settings panel. Clicking opens a modal where users can name their custom settings. Add a dropdown menu for selecting previously saved presets. 3. Interactive Features Toolbar (Global Header) A sticky bar at the top of the interface with: History Button: Opens a modal showing previous chat conversations or prompts. Clear Button: Clears all input fields and the chat. Compare Button: Allows comparison of outputs from two different models side by side. Live Output Display A toggle or collapsible section in the bottom right corner of the interface. Displays the live output generation progress (e.g., a typing animation for the AI response). 4. Design and Typography Fonts: Use modern sans serif fonts like Roboto, Inter, or Open Sans. Font weights and sizes: Titles: Bold, larger font size. Chat text: Regular or semi bold, medium size. Descriptions/tooltips: Light, smaller size. Spacing: Add sufficient padding between elements for a clean, uncluttered look. 5. Responsiveness Desktop: Two column layout with the chat window on the left and settings on the right. Tablet: Collapse the settings panel into a sliding drawer accessible via an icon in the header. Mobile: Full screen chat window. Add a "Settings" button in the header that opens a modal or drawer for configuration. 6. Accessibility Keyboard shortcuts for actions (e.g., send message, clear chat). Screen reader support with proper labels for all inputs and buttons. High contrast mode for improved readability.