Auth Context - Copy this React, Tailwind Component to your project
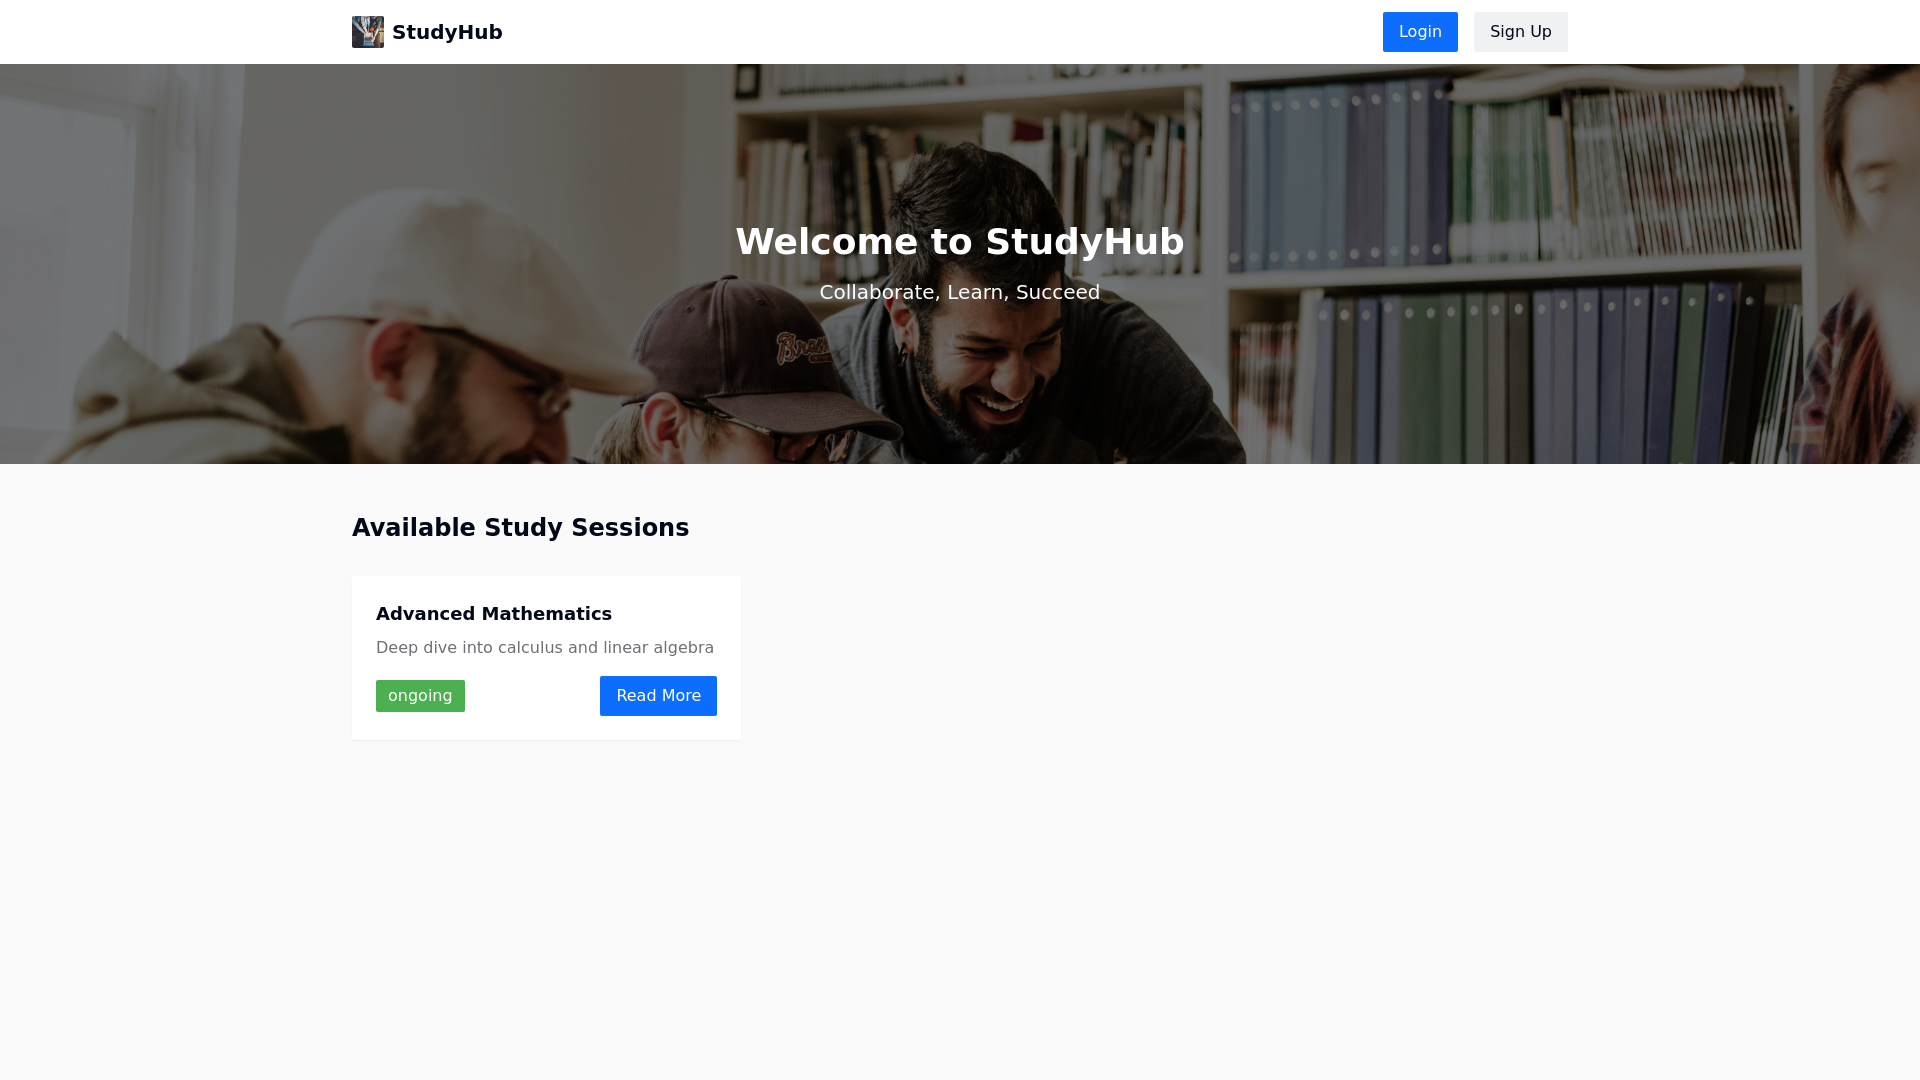
Assessment Introduction: Collaborative Study Platform This assessment focuses on creating a Collaborative Study Platform that connects students, tutors, and administrators to streamline study session scheduling, resource sharing, and user management. By integrating these functionalities into a single platform, we aim to enhance collaboration, improve access to study materials, and ensure effective management of educational activities. This project will outline the key features, design principles, and implementation strategies necessary to develop a user friendly and robust platform that supports the dynamic needs of modern education. Authentication & Authorization User Registration: Form for users to sign up as students, tutors, or administrators. Input fields: name, email, photo(you can use direct link or upload through imgbb as you want), password, and role selection (student, tutor, admin). Note: Don’t worry about the standardization of the project, rather implement requirements as explained here) User Login: JWT based authentication. Token generation upon successful login to manage sessions securely. Implement social login functionality using Google, and GitHub. ( For social login by default you need to set the user role as a student) Hints: While implementing social login, ensure the system gracefully assigns the user role as a student. Role Based Access Control: Middleware to check user roles and permissions. Protect routes to ensure only authorized users can access certain endpoints. Main Tasks HomePage: The user can view 5 sections on the homepage, including the navbar and footer: Navbar Banner Section Study session section Tutor Section Footer The Navbar includes a logo, website name, login button (when the user is not logged in), and sign up button (when the user is not logged in). If the user is logged in, the navbar should display the user profile picture, logout button, and dashboard button. Create a beautiful banner section with a professional background image relevant to this website. Note: Do the necessary beautification of this section. Show study session card ( 6 session cards ). Each session has a title and description, an ongoing/closed button (if the registration time is over, show closed, otherwise, show ongoing), and read more buttons. Note: Show only approved sessions; don’t show pending or rejected sessions (see points 13 and 20). Hints: Check if the current date is greater than or equal to the registration start date and less than or equal to the registration end date. If the user is not logged in, the user will be redirected to the login page by clicking the read more button. If the user is logged in, the user will be redirected to a page where they can view the following information about the selected session: Session Title Tutor name Average rating Session Description Registration start date Registration end date Class start time Class end date Session duration Registration fee (Registration fee can be free ( See points 20 b) ) Reviews of the study session provided by students ( see pints 8 ) Book now button (if the registration time is over, this button will be replaced by a registration closed (disabled) button) Any other necessary information relevant to this session. Note: Disable the Book now button if the logged user is an admin or tutor. Hints: filter all reviews and ratings by study session ID ( see points 8 ). If the registration fee is not free (registration fee is 0. 0 means it is free ) , by clicking the Book Now button, the user will be redirected to a payment page. After successful payment, the session will be booked successfully. If it is free, the session will be booked without payment. Hints 1: Create a collection named "bookedSession" to store session info. Hints 2: save all information about the study session including logged in student email, study session ID ( You will find _id from study session data. Set this _id value as study session ID value ), and tutor email. Hints 3: You will find the tutor email from the study session data. Create a tutor section to show all tutors. Student Dashboard (Private Route): Student dashboard has the following route: View booked session Create note Manage personal notes View all study materials provided by the tutor (View booked sessions route): Students can view his/her booked sessions. Each session has a view detail button. By clicking this button: Students view detailed information about the session. Create a review section on the detailed page. Students can post a review and rating for the study session. Hints 1: Create a collection to store all reviews and ratings. Save reviews with a session ID that comes from booked session data ( see points 4 and 5 ). (Create note route): Students can create his/her notes. This page will have a form with the following fields: Email readOnly ( Logged in user email ) Title Description Hints: Create a collection to store notes. ( Manage personal notes route): Students can view all personal notes. There will be update and delete buttons for each note to update and delete note. ( View all study materials route ): Students can access study materials categorized by study session. They can access only the materials of the sessions he booked. They can see the images and link (Google Drive link ) They can download the images. Add a download button to each image. By clicking the link they can visit the URL (Google Drive link ) Hints 1: At first, show all booked sessions. By clicking a single session all materials of the session should be displayed. Hints 2: Find the materials by study session ID. You will find the session ID in the booked session data. Tutor Dashboard (Private Route): The tutor dashboard has the following route: Create study session View all study sessions created by a tutor Upload materials View all materials ( Create study session ) Tutor will create a session with the following fields: Session Title Tutor name read only ( Logged in user name ) Tutor email read only ( Logged in user email) session Description Registration start date Registration end date Class start date Class end date Session duration Registration fee read only ( default 0 ) ( only admin can modify this field, just set it to 0 ) Status ( default pending ) Any other necessary info if you need ( View all study sessions route) The tutor can see his/her approved and rejected sessions. The tutor can send another new approval request to the admin for rejected sessions. After a new request is sent, the status changes from reject to pending. Hints: create a new study session with status ( pending ) (Upload materials route): The tutor will upload materials for his/her approved sessions. He can upload an image and link ( Google Drive link ) as materials. He can upload multiple materials for a single study session. There will be a form with the following fields: Title Study session ID read only ( This ID comes from the study session data he wants to upload) Tutor email read only ( Logged in user email ) Image upload Link ( Resources material Google Drive link. For example google doc, google sheet ) Hints 1: Create a view link for images and save this link in the database ( You can use ImgBB). Hints 2: Fetch all approved sessions and add an upload material button to each one. Hints 3: just set an input text field to get the Google Drive link Hints 4: Create a collection to store materials with the study session ID. (View all materials route) The tutor can view all the materials he uploaded. He can also delete and update the materials. Admin Dashboard (Private Route): Admin dashboard has the following route: View all users View all study session View all materials (View all users) Admin views all users with the given roles. He can update a user role (View all users) This page has a search bar. admin can search a user by name or email. The search implementation functionality should be done in the backend. (View all study sessions route) Admin can view all sessions created by the tutor ( see point 13 ). He can approve a pending session or reject it. If he approves, a modal popup will appear. This popup will contain these input fields: Is the session free or paid? If it is paid, he should specify the amount. If it is free, just set the value to 0 After successfully rejecting, the rejected session will be removed from the pending list. (In “view all study sessions route” ) Show an update button and a delete button with approved sessions. Don’t show these buttons with pending study sessions The admin can update and delete a session by clicking them. (View all materials route) Admin can view all materials and remove inappropriate and outdated content.