Lesson Plan - Copy this React, Tailwind Component to your project
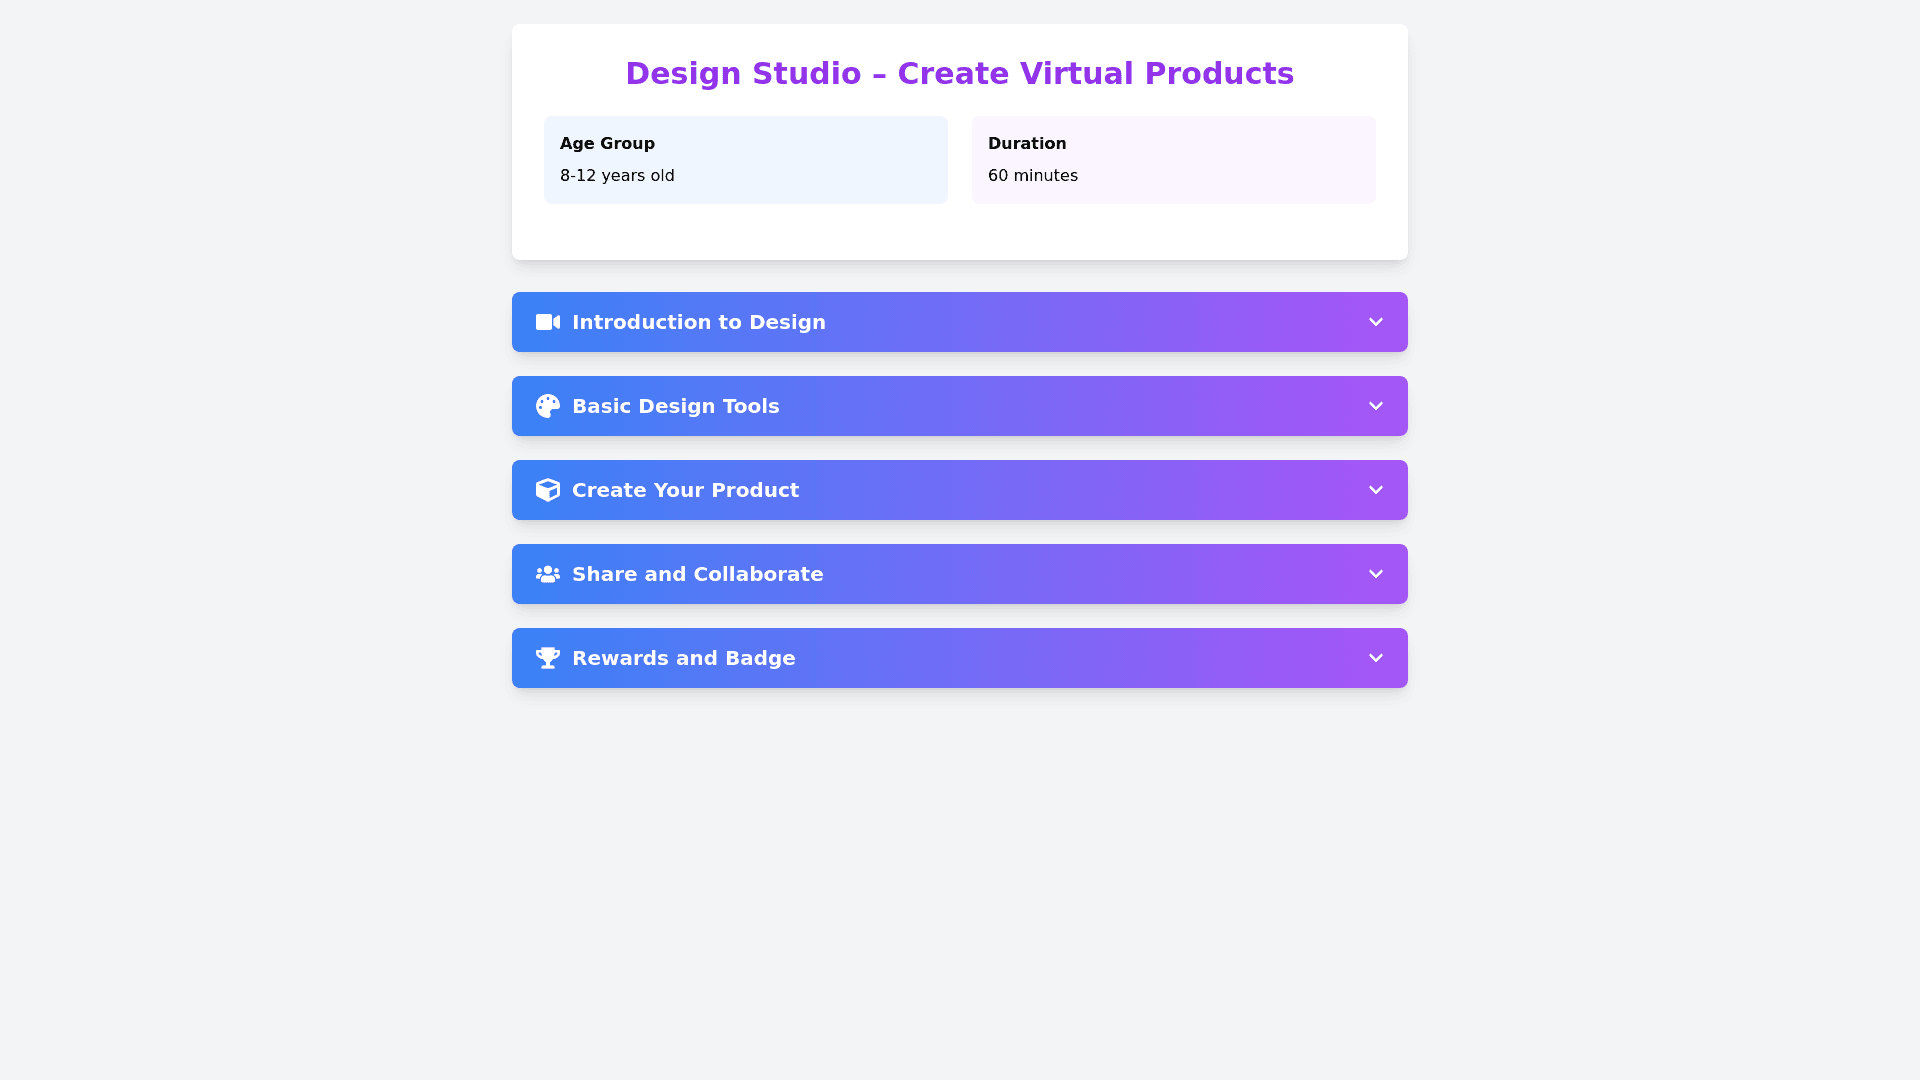
Here's an interactive learning lesson plan for kids (Ages 8–12) on **"Design Studio – Create Virtual Products with Simple Tools."** ### **Interactive Learning Lesson: Design Studio – Create Virtual Products with Simple Tools** **Target Age Group:** 8–12 years **Lesson Duration:** 1 hour ### **Lesson Objectives** 1. Introduce kids to basic design principles and tools. 2. Teach them how to create simple virtual products, such as toys, clothes, or accessories, using basic shapes and tools. 3. Encourage creativity and experimentation with virtual designs. 4. Reinforce learning through hands on activities and a collaborative project. ### **Lesson Plan Breakdown** #### **1. Introduction (10 minutes)** **Topic:** What is design? **Interactive Video (5 minutes):** A fun, animated story that follows a character (let’s call them "Alex") as they design a new toy using simple shapes and tools. **Key Points Covered:** What is design? The role of designers in creating products. Introduction to design tools (like drawing shapes and adding colors). **Discussion (5 minutes):** Ask questions like: "What is your favorite product?" "How do you think it was made?" "Have you ever tried designing something?" Encourage kids to think of products they would like to design (toys, clothes, etc.). #### **2. Core Activity 1: Learn Basic Design Tools (20 minutes)** **Objective:** Teach kids how to use simple design tools and concepts. 1. **Step 1: Using Shapes to Create Products (10 minutes):** Introduce basic shapes (circle, square, triangle) and explain how they can be combined to create different designs. **Activity:** Using an online design tool or drawing software (like Tinkercad or Google Draw), kids will create a basic virtual product using at least three shapes. Examples: Create a simple toy or a piece of furniture using shapes. Provide step by step guidance on combining shapes to form a product. 2. **Step 2: Color and Texture (10 minutes):** Teach kids how to add color and texture to their shapes. Explain how different colors and textures can change the look and feel of a design. **Activity:** Each child will add colors and textures to their design (e.g., a toy car with wheels colored blue and the body in red). Encourage kids to experiment with different combinations. #### **3. Core Activity 2: Create Your Virtual Product (20 minutes)** **Objective:** Guide kids through designing a unique virtual product. 1. **Step 1: Product Idea (5 minutes):** Ask kids to choose a product to design. It could be a toy, a game, a clothing item, or even an accessory. Provide a list of simple ideas to spark creativity, such as: A robot toy A superhero cape A colorful pillow A cool sneaker 2. **Step 2: Design Your Product (15 minutes):** Kids will use the tools learned in Core Activity 1 to create their product. Encourage them to be creative and think about the purpose of the product (e.g., what does their toy do, or how does their clothing item look different from others?). Provide a template or example for each product idea to help guide the design. **Optional:** Use an online platform like Tinkercad or a drawing tool to visualize their products. #### **4. Collaboration and Sharing (10 minutes)** **Objective:** Encourage teamwork and sharing of designs. 1. **Group Sharing (5 minutes):** Each child shares their design with the group, explaining the product they created, its purpose, and why they chose their colors or shapes. Encourage kids to ask questions or give positive feedback to each other. 2. **Reflection (5 minutes):** Ask the children: "What was the most fun part of designing your product?" "What did you learn about design today?" Celebrate everyone's creativity and effort. #### **5. Rewards and Conclusion (5 minutes)** **Objective:** Reinforce learning and celebrate achievements. 1. **Badge or Trophy Reward:** Every child receives a virtual **"Design Studio Creator Badge"** for completing the session. Show a badge they can collect or a certificate they can print out for their portfolio. 2. **Optional Take home Assignment:** Encourage kids to design another product at home and bring it to the next session to share with others. ### **Materials Needed** 1. Animated video on basic design tools and concepts. 2. Online design platform like Tinkercad, Google Draw, or a simple drawing tool. 3. Printable product design templates for inspiration. 4. A virtual "Design Studio Creator Badge" image or template. ### **Outcome** By the end of the session, kids will: 1. Understand the basics of design, including how to use shapes, colors, and textures. 2. Have created their first virtual product. 3. Be encouraged to continue designing and experimenting with virtual products. 4. Earn a "Design Studio Creator Badge" to commemorate their achievement. Would you like help with the **video script**, **design templates**, or **interactive quizzes** for this lesson?