Customer Feedback Form - Copy this React, Tailwind Component to your project
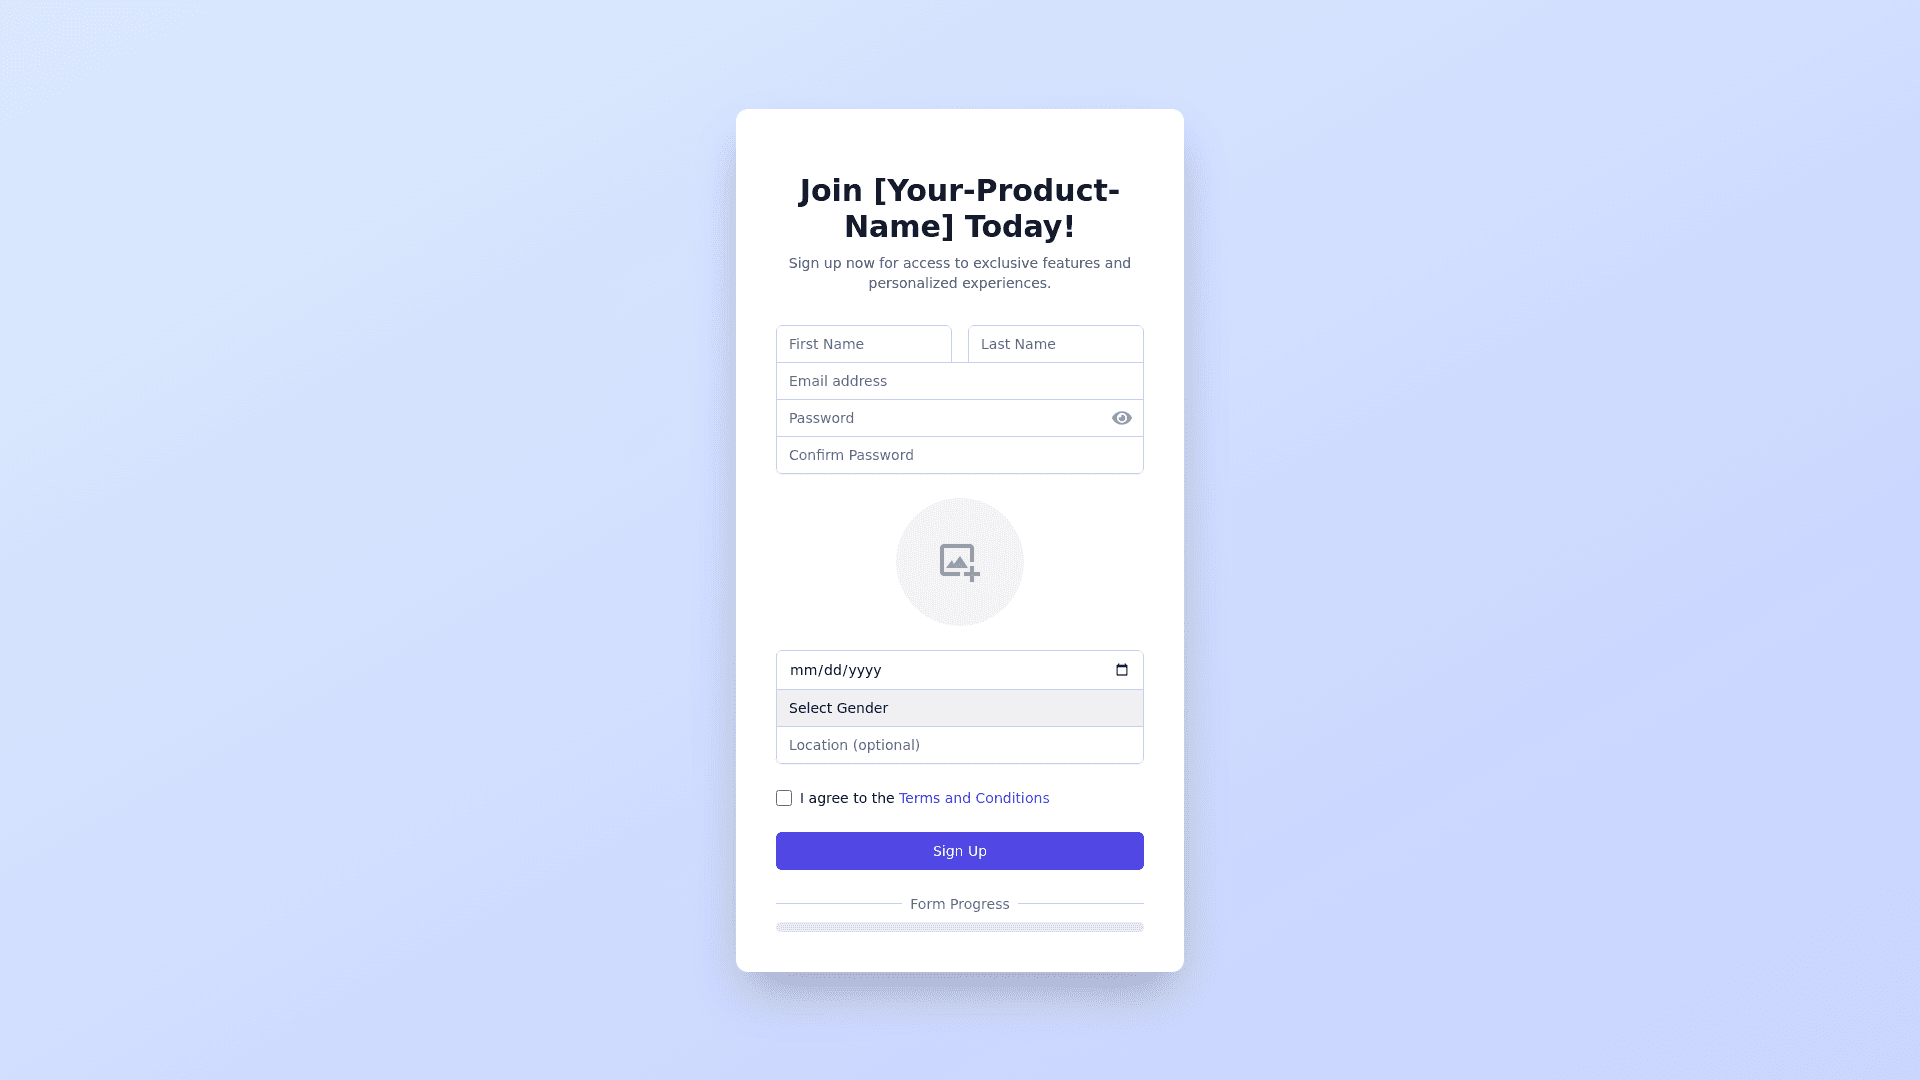
Onboarding Quiz Design Introduction Screen: Title: "Welcome to [Your Product Name]!" Subtitle: "Let’s get you set up with your first AI powered chat widget. This will only take a few minutes." Visual: Minimalistic icons that depict the stages (e.g., account creation, bot customization, widget generation). Start Button: "Let’s Start!" with a smooth animation when hovered over. Step 1: Create Account Heading: "Create Your Account" Fields: First Name (Text Input) Last Name (Text Input) Email Address (Email Input) Phone Number (Optional, with tooltip: "For account recovery or notifications.") Business Name (Text Input) Website (Text Input, starting with "https://") Password (Password Input, with strength meter) Button: "Create Account" Visual: Clean, with icons for each field and real time validation (e.g., green check marks when input is valid). Progress Bar: At the top or side, showing the user is 1/5 steps done. Step 2: Customize AI Chatbot Heading: "Let’s Build Your AI Chatbot" Fields: "What would you like to name your bot?" (Text Input) "Select the goal of your AI Chatbot" (Dropdown Menu): Customer Support Lead Generation Appointment Setting Button: "Next" Visual: Simple and elegant, the goal dropdown should include small illustrations next to each option (e.g., chat bubbles for Customer Support). Progress Bar: 2/5 steps done. Step 3: Describe Your Services Heading: "Describe Your Services" Fields: "What services do you offer?" (Text Input/Multiline) "Qualification Question" (Text Input): Optional field to add a question to qualify leads (e.g., “Looking to get a quote?”) Button: "Next" Visual: Clean textbox with suggestions or placeholders. Progress Bar: 3/5 steps done. Step 4: Website Data Integration Heading: "Train Your AI Agent with Your Website Data" Fields: "Enter your website URL starting with https://" (Text Input) Scrape Button: "Scrape Website" (Icon of a web scraper next to the button) Button: "Next" Visual: Show an animation of a loading bar when the user clicks "Scrape Website," to indicate the scraping process. Progress Bar: 4/5 steps done. Step 5: Choose Deployment Option Heading: "How Would You Like to Deploy Your Chatbot?" Fields: Radio Buttons with Lucid Icons: Deploy on Website (Icon: Website with chat bubble) Deploy via SMS (Icon: Phone with message bubble) Optional Field: "Add Endpoint for Webhook Integration" (Text Input for URL) Button: "Generate Widget" Visual: The radio buttons should feature clear and easy to understand icons, and if "Webhook Integration" is selected, an info tooltip should explain what it does. Progress Bar: 5/5 steps done. Final Screen: Widget Generated Heading: "Your AI Chatbot is Ready!" Message: "Congratulations! You’ve successfully created your first AI powered chatbot." Call to Action: "Deploy Now" (Directs to the dashboard) "Test the Chatbot" (Interactive preview of the chatbot) "Edit Settings" (Takes them back to the customization page) Visual: Celebration animation, such as confetti or checkmarks. Design Style & Color Scheme: Modern, Minimalist: Use white space effectively with soft shadow effects around input fields and buttons. Lucid Icons: Integrate icons that are light, clean, and easy to understand, providing users visual cues at every stage. Primary Colors: Clean gradients and subtle shades for primary action buttons, with accent colors for selected options and highlights. Animations: Smooth transitions between steps and dynamic feedback when a user interacts with a button or form field (e.g., progress bar animation, field validation). This onboarding process focuses on making the user experience smooth, interactive, and visually appealing, while guiding them step by step. You can enhance the look further with polished icons and subtle animations to keep users engaged throughout the journey.