Onboarding Process - Copy this React, Tailwind Component to your project
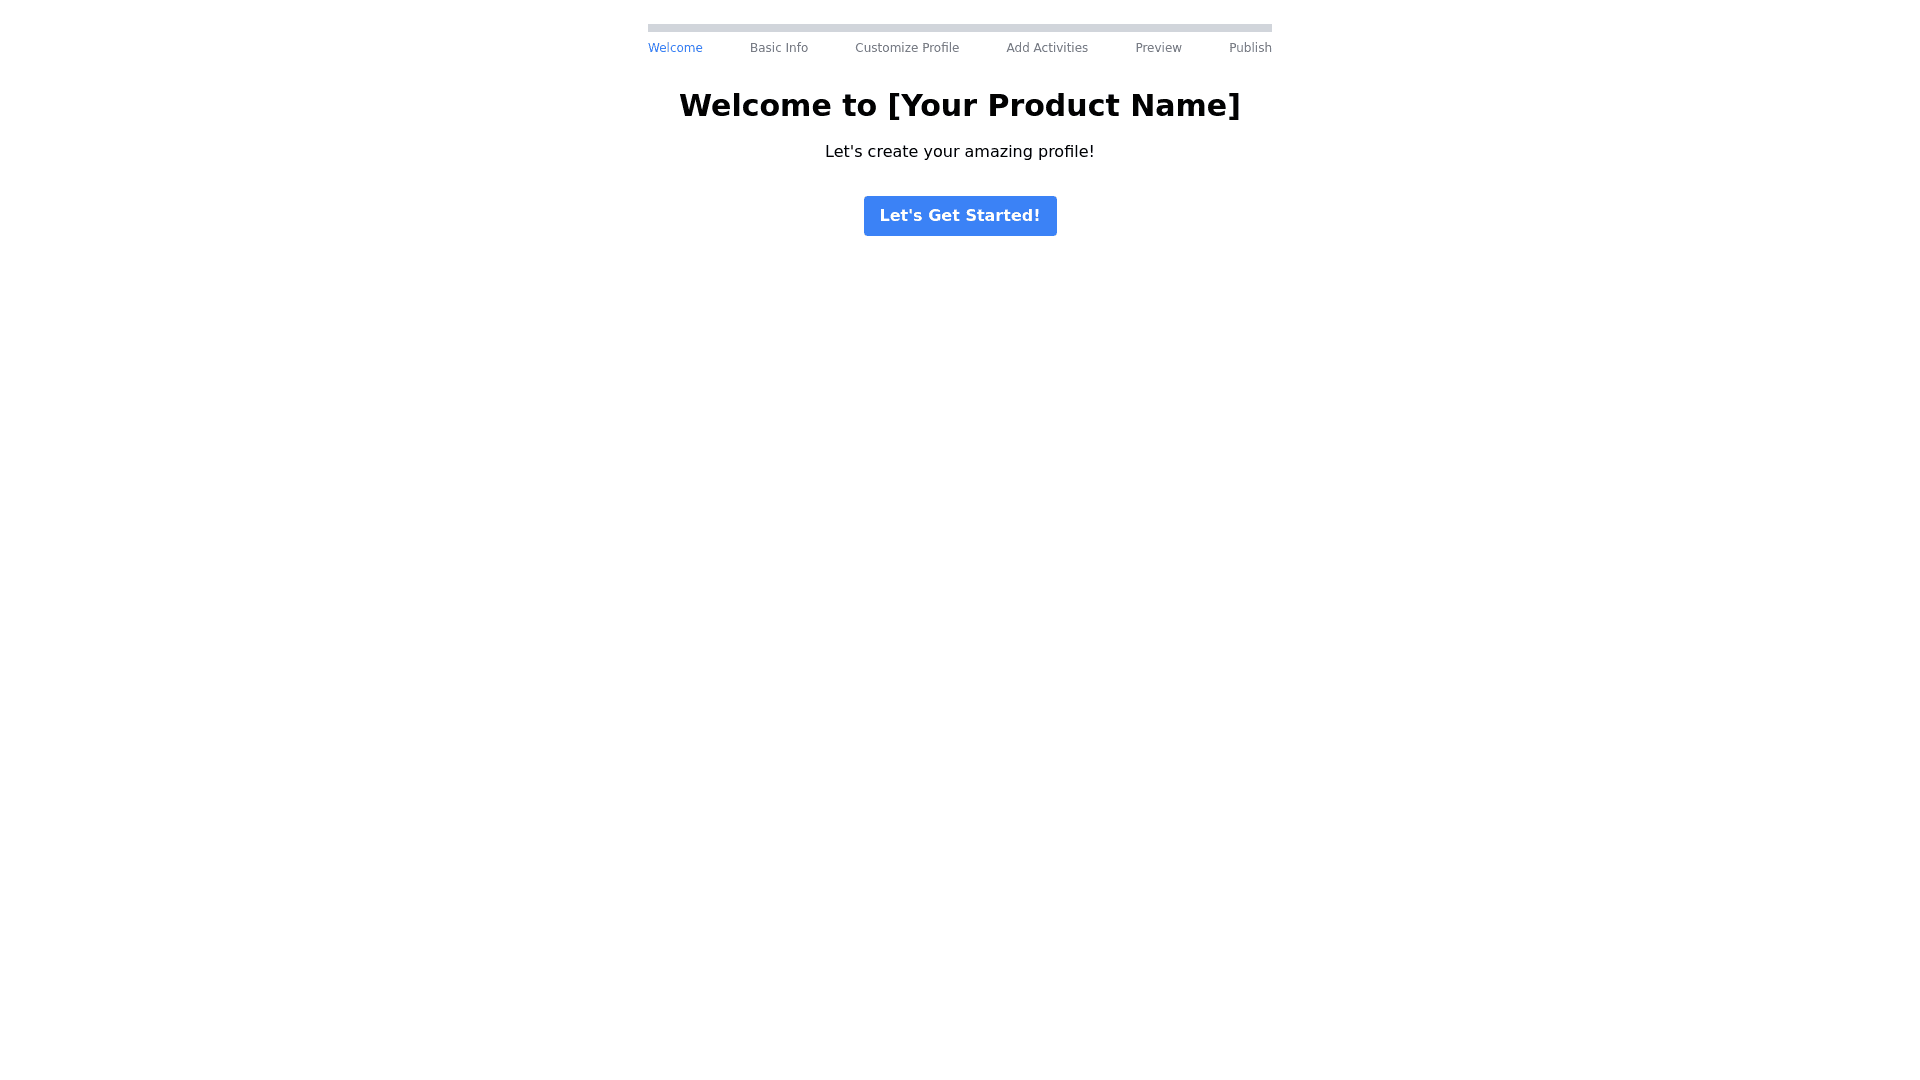
Design an onboarding process for creating an AI chatbot widget should be designed as a quiz like flow to guide users step by step. Starting with a welcome screen titled "Welcome to [Your Product Name]," users are reassured that setup will be quick. They click "Let’s Start!" to begin. Step one asks for basic account details: first name, last name, email, phone number (optional), business name, website URL, and password. Each field features real time validation, and a progress bar tracks the steps. After filling in the details, the user clicks "Create Account." Next, the user customizes their AI chatbot. They name the bot and select its goal (e.g., Customer Support, Lead Generation). Each goal has a small icon for clarity. After choosing, they click "Next" to move forward. Step three prompts the user to describe their services and, optionally, add a qualification question. The user provides this information in a clean textbox with placeholders and then clicks "Next." In step four, the user integrates their website by entering a URL and clicking "Scrape Website." An animation shows the scraping process. They click "Next" to proceed. In the final step, the user chooses where to deploy the chatbot (e.g., website or SMS) using radio buttons with icons. They can also add an optional webhook URL for data integration. After selecting, they click "Generate Widget." The final screen celebrates their success with "Your AI Chatbot is Ready!" and options to deploy, test, or edit the chatbot. The overall design is modern and minimalistic, with clean icons, soft shadow effects, and smooth animations, ensuring a user friendly, polished experience.
